Installation Instructions
Thank you for purchasing a 3D printed drop stock adaptor from Badas.Design.
Please read this guide carefully before fitting.
This guide is universal for any shaped static or angled drop stock from Badas.Design. Please note the photos seen in this guide may use older brand logos but the product is still the same.
Our 3D printed adapter has been designed specifically to fit a wide range of AEG buffer tubes and lower receivers, but we cannot accommodate every brand on the market due to their manufacturing and design tolerances varying so much. Some slight shaving or modification may be required as demonstrated in this guide.
We cannot be held responsible should you damage any parts of your Airsoft RIF by following this guide. Please read fully and then carry out your mod with care and attention.
Step 1
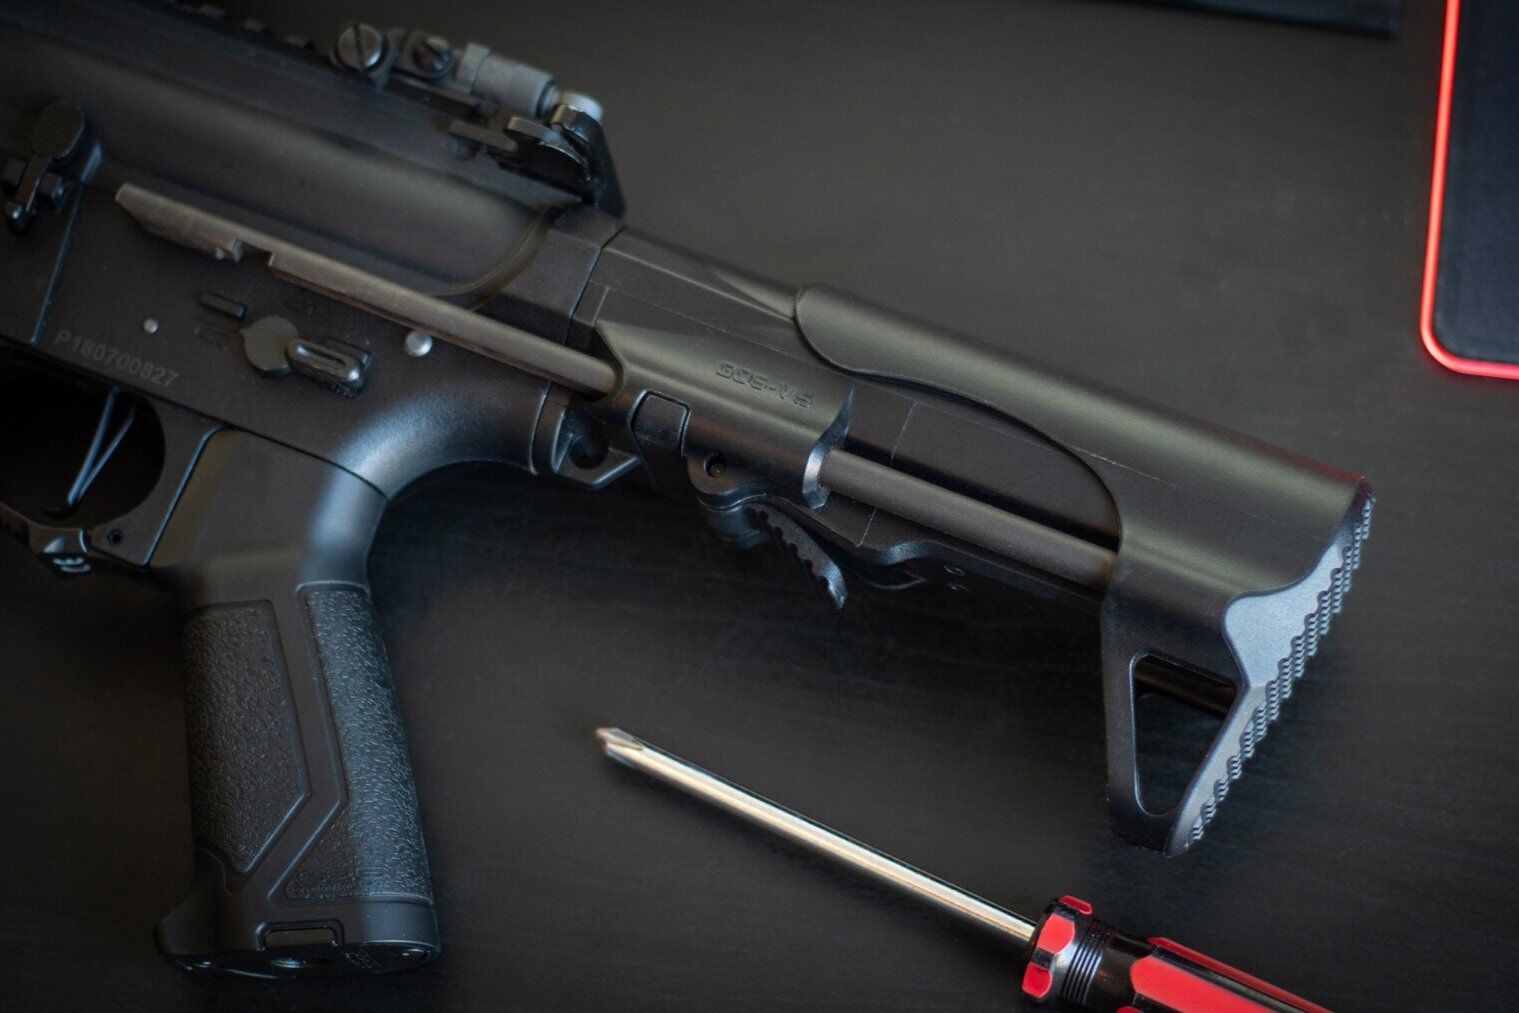
First remove your original buffer/stock tube from your Airsoft AEG. You may need to refer to your user manual or search on YouTube as this process may vary from Airsoft RIF to RIF. Seen below is a G&G Armament - ARP-9 having the standard stock removed.
Be sure to set-aside and save any bolts. If you have a standard AEG M4 buffer tube already on your Airsoft RIF, save the bolt that comes with it to use again later.
Step 2
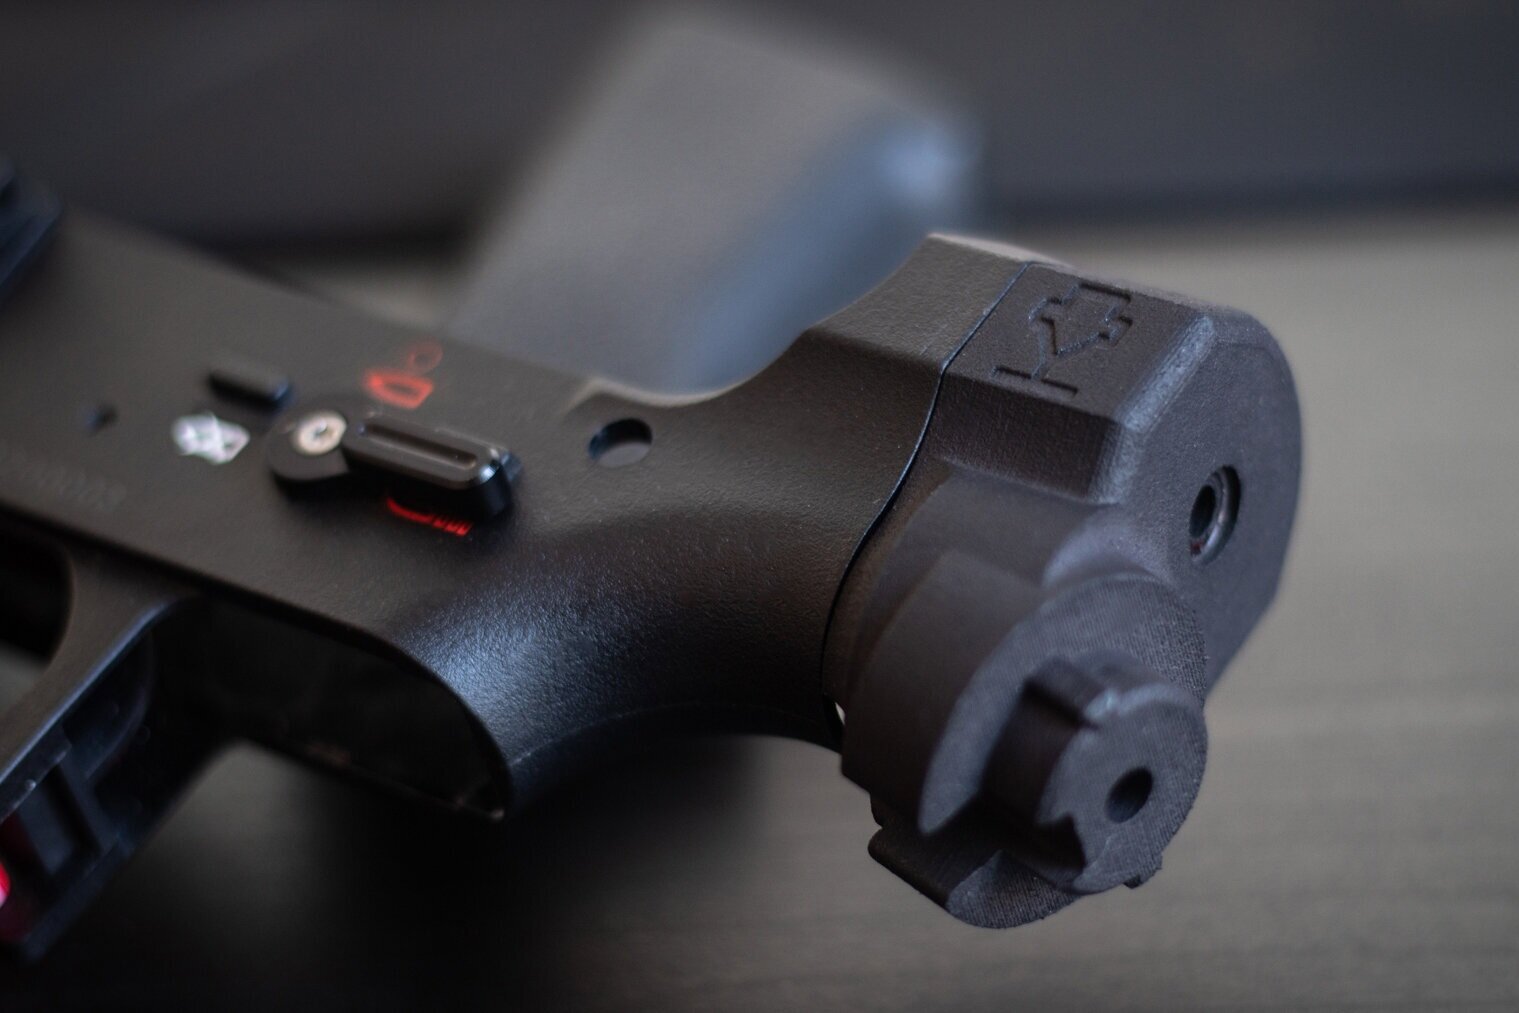
Now test fit your 3D printed drop stock adapter without the bolt onto the original buffer tube mounting point on your lower receiver. If the part does not push on easily, you may need to use a craft knife, file or a dremel (very carefully!) to remove some material from either the inside of the 3D printed adapter, or the original buffer tube connection point on your lower receiver as pictured below.
If your adaptor fits on easily and there is no gap you can skip this process.
Depending on what lower receiver and drop stock adapter you purchased, you may also need to shorten the buffer connection point on your lower receiver. Do so very cleanly and accurately. We recommend you use a hack saw and then clean up the edges to remove burrs and excess material as pictured below.
Step 3
Now with your original buffer connection point 100% the right length, push on your adaptor and wiggle/twist it left to right to check for any free play. If you have excessive wiggle, you can use PTFE or Insulation tape to build up the empty volume. Again, this is a purposeful design to accommodate for the wide range of tolerances used by different Airsoft manufacturers.
Test fit your 3D printed adaptor for wiggle/twisting action again. Add more or remove material if it is too tight or too loose. You do not want to use too much material so that it becomes near impossible to remove the adaptor. If you have any difficulty in removing the adapter, screw on a buffer tube and use it as a point of leverage to remove the adapter.
Step 4
Depending on what wiring you use on your Airsoft gun, you may find this next step easier to remove the adapter from your lower. Now test fit your buffer tube onto the 3D printed drop stock adapter without using a screw!
Repeat the same process of twisting the buffer tube whilst on the adapter to check for any free moving twisting/rotating action. Use PTFE or insulation tape again on the bottom connecting point of the adapter to remove any excessive play.
Once again, this piece is purposefully designed to be so small as many different buffer tube manufacturers use different tolerances during manufacturing.
Once you have the right amount of material, you can now fully assemble the adapter to your Airsoft RIF.
Step 5
Whilst assembling your RIF again, feed your wiring carefully through the underside of the adapter to prevent any breakages to your electrical wiring.
Use the included black bolt and sprung washer to fit the drop stock adapter to your lower receiver. The sprung washer helps prevent this part from becoming loose. Should you lose any of these parts, you can buy spares here. Do not over tighten this component to prevent damage to the printed accessory and your gearbox internals!
Step 6
When connecting your M4 AEG buffer tube, be careful your original bolt is not too long, this could cut into your wiring or screw into your gearbox casing. This may also give you the feeling your buffer tube is still loose even when the bolt feels tight.
Simply cut your screw shorter whilst a nut is fitted, you can then undo the nut which will clean up the end of the screw. Alternatively, your buffer tube screw may be too short. You can find M4 bolts/screws upto 90mm long on eBay or your local hardware store for very little money if you need a spare.
Step 7
Finish assembling your newly modified beloved, sit back and feel proud. Now go run around the house testing out your new drop stock and get ready for your next game day.
Should you encounter any problems with assembly please contact us directly, through Instagram or by email.


